The Making of VX1: Tools
This post is a part of the series The Making of VX1, so read that for context.
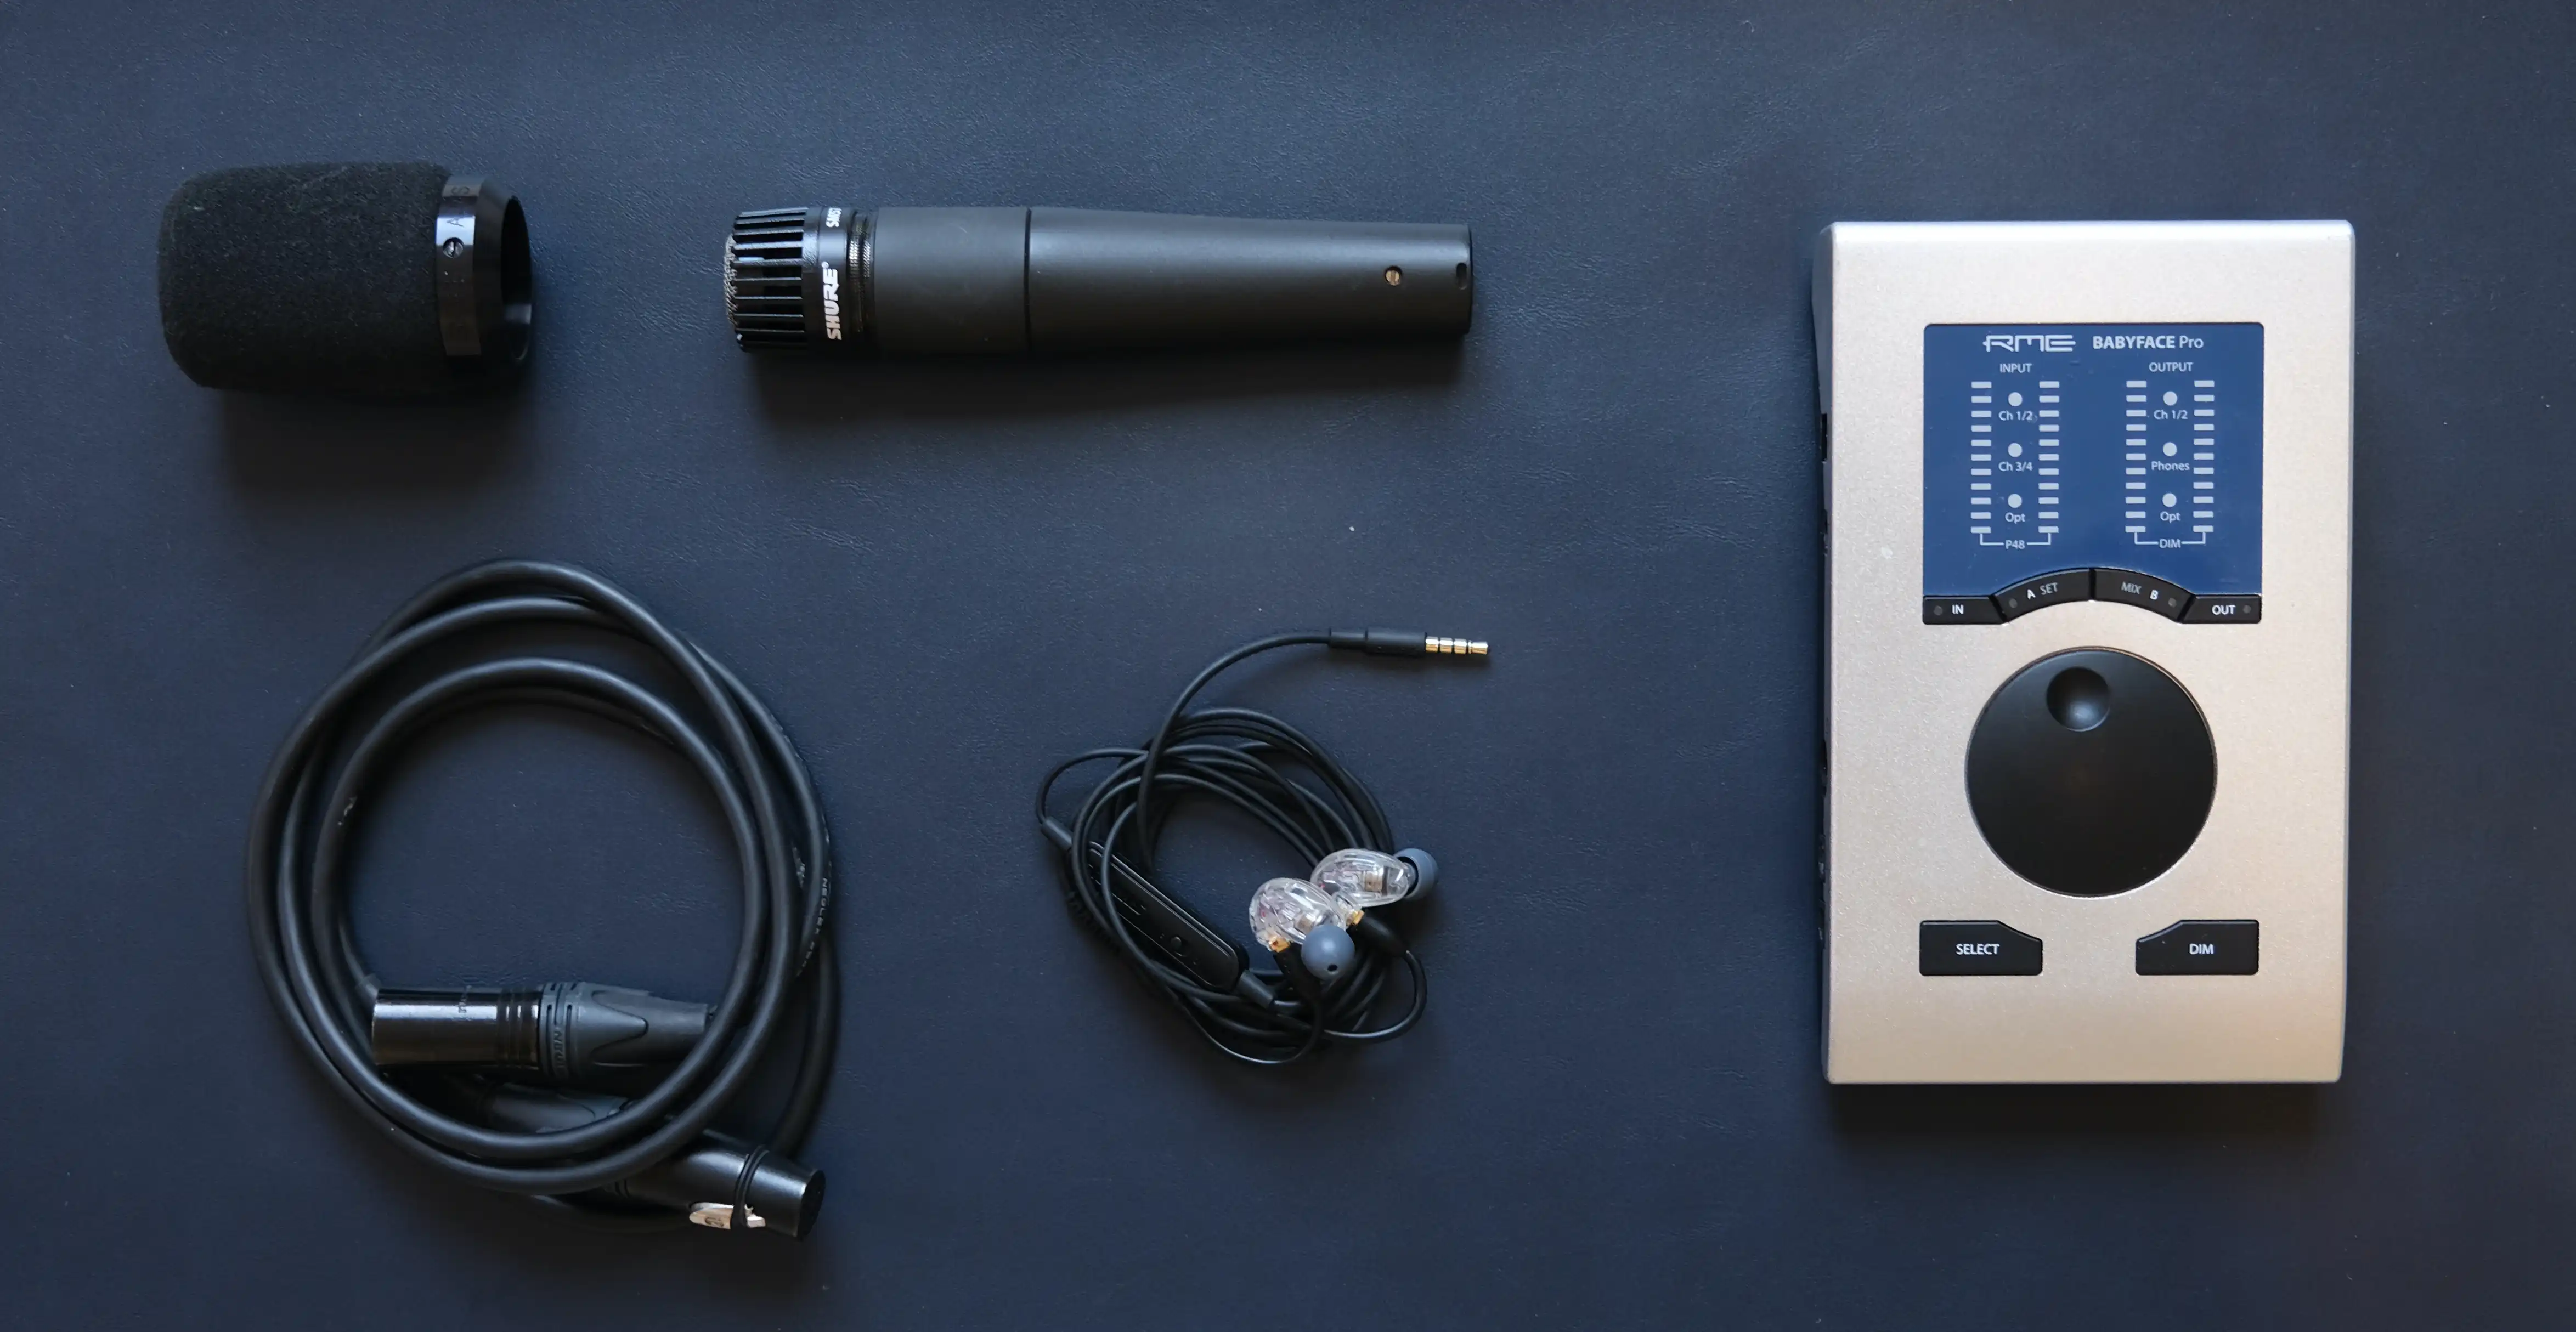
Before I list everything I used for this album, I want to take a second to mention that the tools I use are a “90% of the budget for the last 10% of the results” situation. I’ve collected my recording tools over a number of years. It’s not the set of tools I’d recommend if you’re looking to start from zero. I believe I could have made this album sound very good using a more barebones setup (this is my travel setup):
The Necessities
Shure SM57 Microphone with windscreen #
If I DON’T have a room that is treated for recording audio, I prefer any unidirectional microphone. The pictured one here is my SM57, modded to have the transformer removed (the mod is not important if you’re buying your first microphone). The important thing about this mic is that it is made for live performance, and is good at minimizing background noise. This is nice because if we have less-than-ideal room acoustics, we want limit room reverberations as much as possible.
If I DO have a well-treated recording space, I generally prefer a large-diaphragm condenser mic for background vocals; they have a bit more clarity, which is helpful when stacking dozens of simultaneous tracks. I recommend looking at Craigslist for some used condenser mics, but if you want a specific recommendation, I’ve recorded solid vocals with a CAD E100Sx in the past.
A pop filter / windscreen is something I would generally not use for background vocals, since plosives can generally be avoided with good mic technique. I would definitely use it with vocal percussion, since it’s just generally more difficult to avoid wind noises. I usually use a metal windscreen, as it doesn’t attenuate high frequencies quite as much. Here’s a link to a really expensive one as an example, but just look around and find a cheaper one online somewhere or at your local music shop. Sometimes I’ll also use one of those thicker foam windscreens if I really want to eat a mic as well for any particular sound.
Shure SE215 In-Ear Monitors #
You really just need a pair of headphones you are used to, so you know what you are listening to. Headphones like this will never be optimal, but they do a good enough job to get most of the way there. Low-end and the space of a track will become problems if you try to mix using headphones, though.
RME Babyface Pro Audio Interface #
There are a lot of other great preamp interfaces at a cheaper price-point. I’m a big fan of Steinberg UR series interfaces. That being said, my favorite are RME interfaces. They have clean preamps and have always been super stable for me.
Note: I do not use an external preamp. However, part of this is because I used a tube microphone for this project, which has its own amplification/power source, and has its own distinct character. For a barebones setup, I would STILL run without an external preamp, and just use an interface with clean integrated preamps.
Ableton Live 10 Digital Audio Workstation #
Tracking and Editing acappella are fairly basic use-cases, and can be done in pretty much any DAW in a very similar manner. In fact, for most of my past acappella projects, I have used Reaper DAW, as it is more light and nimble than any other DAW I’ve used.
For this album I used Ableton Live. Since I tend to flow between an arranging and a looping view while songwriting, I do like Ableton Live for creation purposes. It fits my flow better for that part of the process. I’ve also started trying to do all of my larger projects in it recently, just so I can have some consistency. Also, Live has a decent quantization engine that I use for most rhythm editing on this album.
I dislike my flow in ProTools, but it’s also worth checking out if you’re looking to do this kind of project. The biggest draw for that one is that most non-electronic-music industry people I know use it, so it’s likely you’d be able to skip your exporting stage, and just send the whole project.
Melodyne Automatic Tuning #
Charlatan Days by itself has over 200 vocal tracks. If you think I’m going to take the time to sing this entire album 100% in-tune without automatic pitch correction, you are far more patient than I am. The two big players in this space are Melodyne and Antares Autotune. I haven’t really used Autotune much, but the impression I get from talking to other people is that Melodyne is better for background vocals, and Autotune is better for lead vocals (it sounds more natural, but less suited for large amounts of voices).
In general for this album, I used Melodyne on most of the background vocals (leaving the lead vocals dry), and Bill used autotune to tweak the lead vocals where necessary.
The Full Setup
These are all the tools I used for creating VX1. This list does NOT include the tools that Bill used for mixing/mastering my album. I think he uses dark magics.
Songwriting and Arranging
- Paper, Pencil, Apple Voice Memos, and Sublime Text Editor For note-taking
- Musescore For music notation and sorting out chords
- Reaper DAW for quick rough sessions
- Any piano keyboard I could get my hands on.
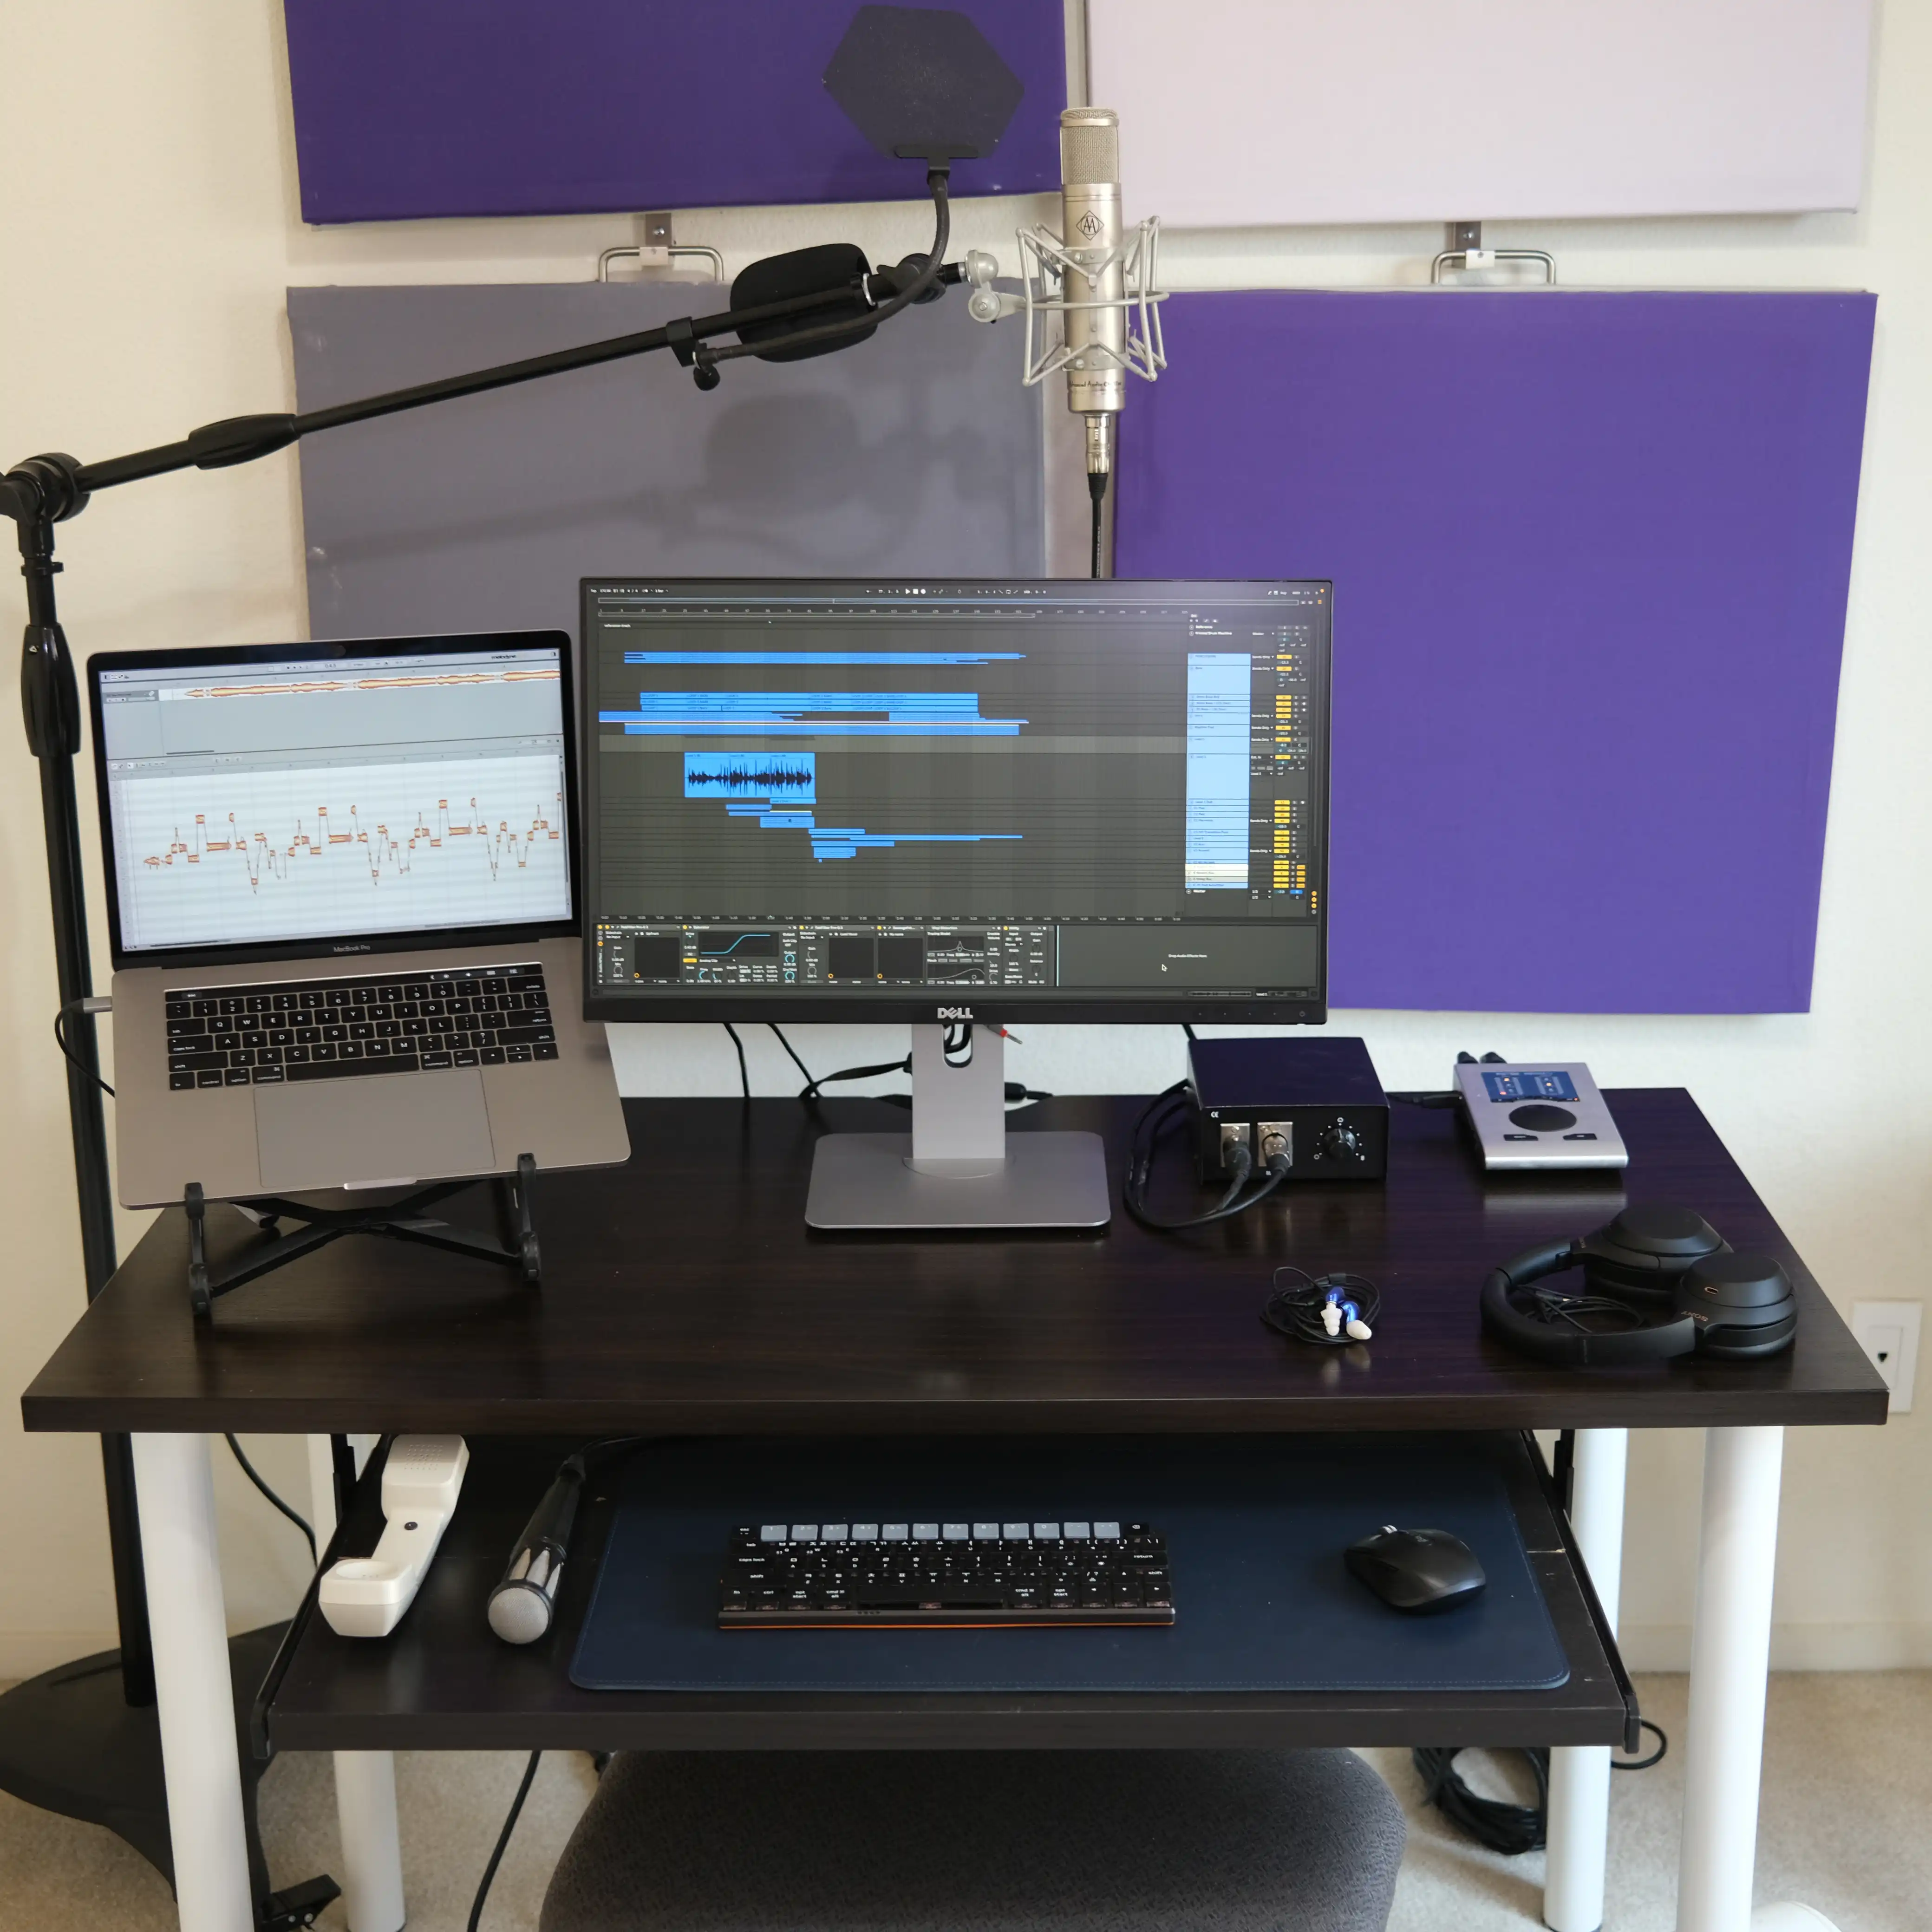
Tracking #
- Ableton Live 10 DAW
- RME Babyface Pro Audio Interface
- Advanced Audio CM12se Tube Microphone. I used this for the majority of my tracking.
- Earthworks SR314 Microphone. I used this when I really wanted to hold the mic, or I was too lazy to use the CM12se.
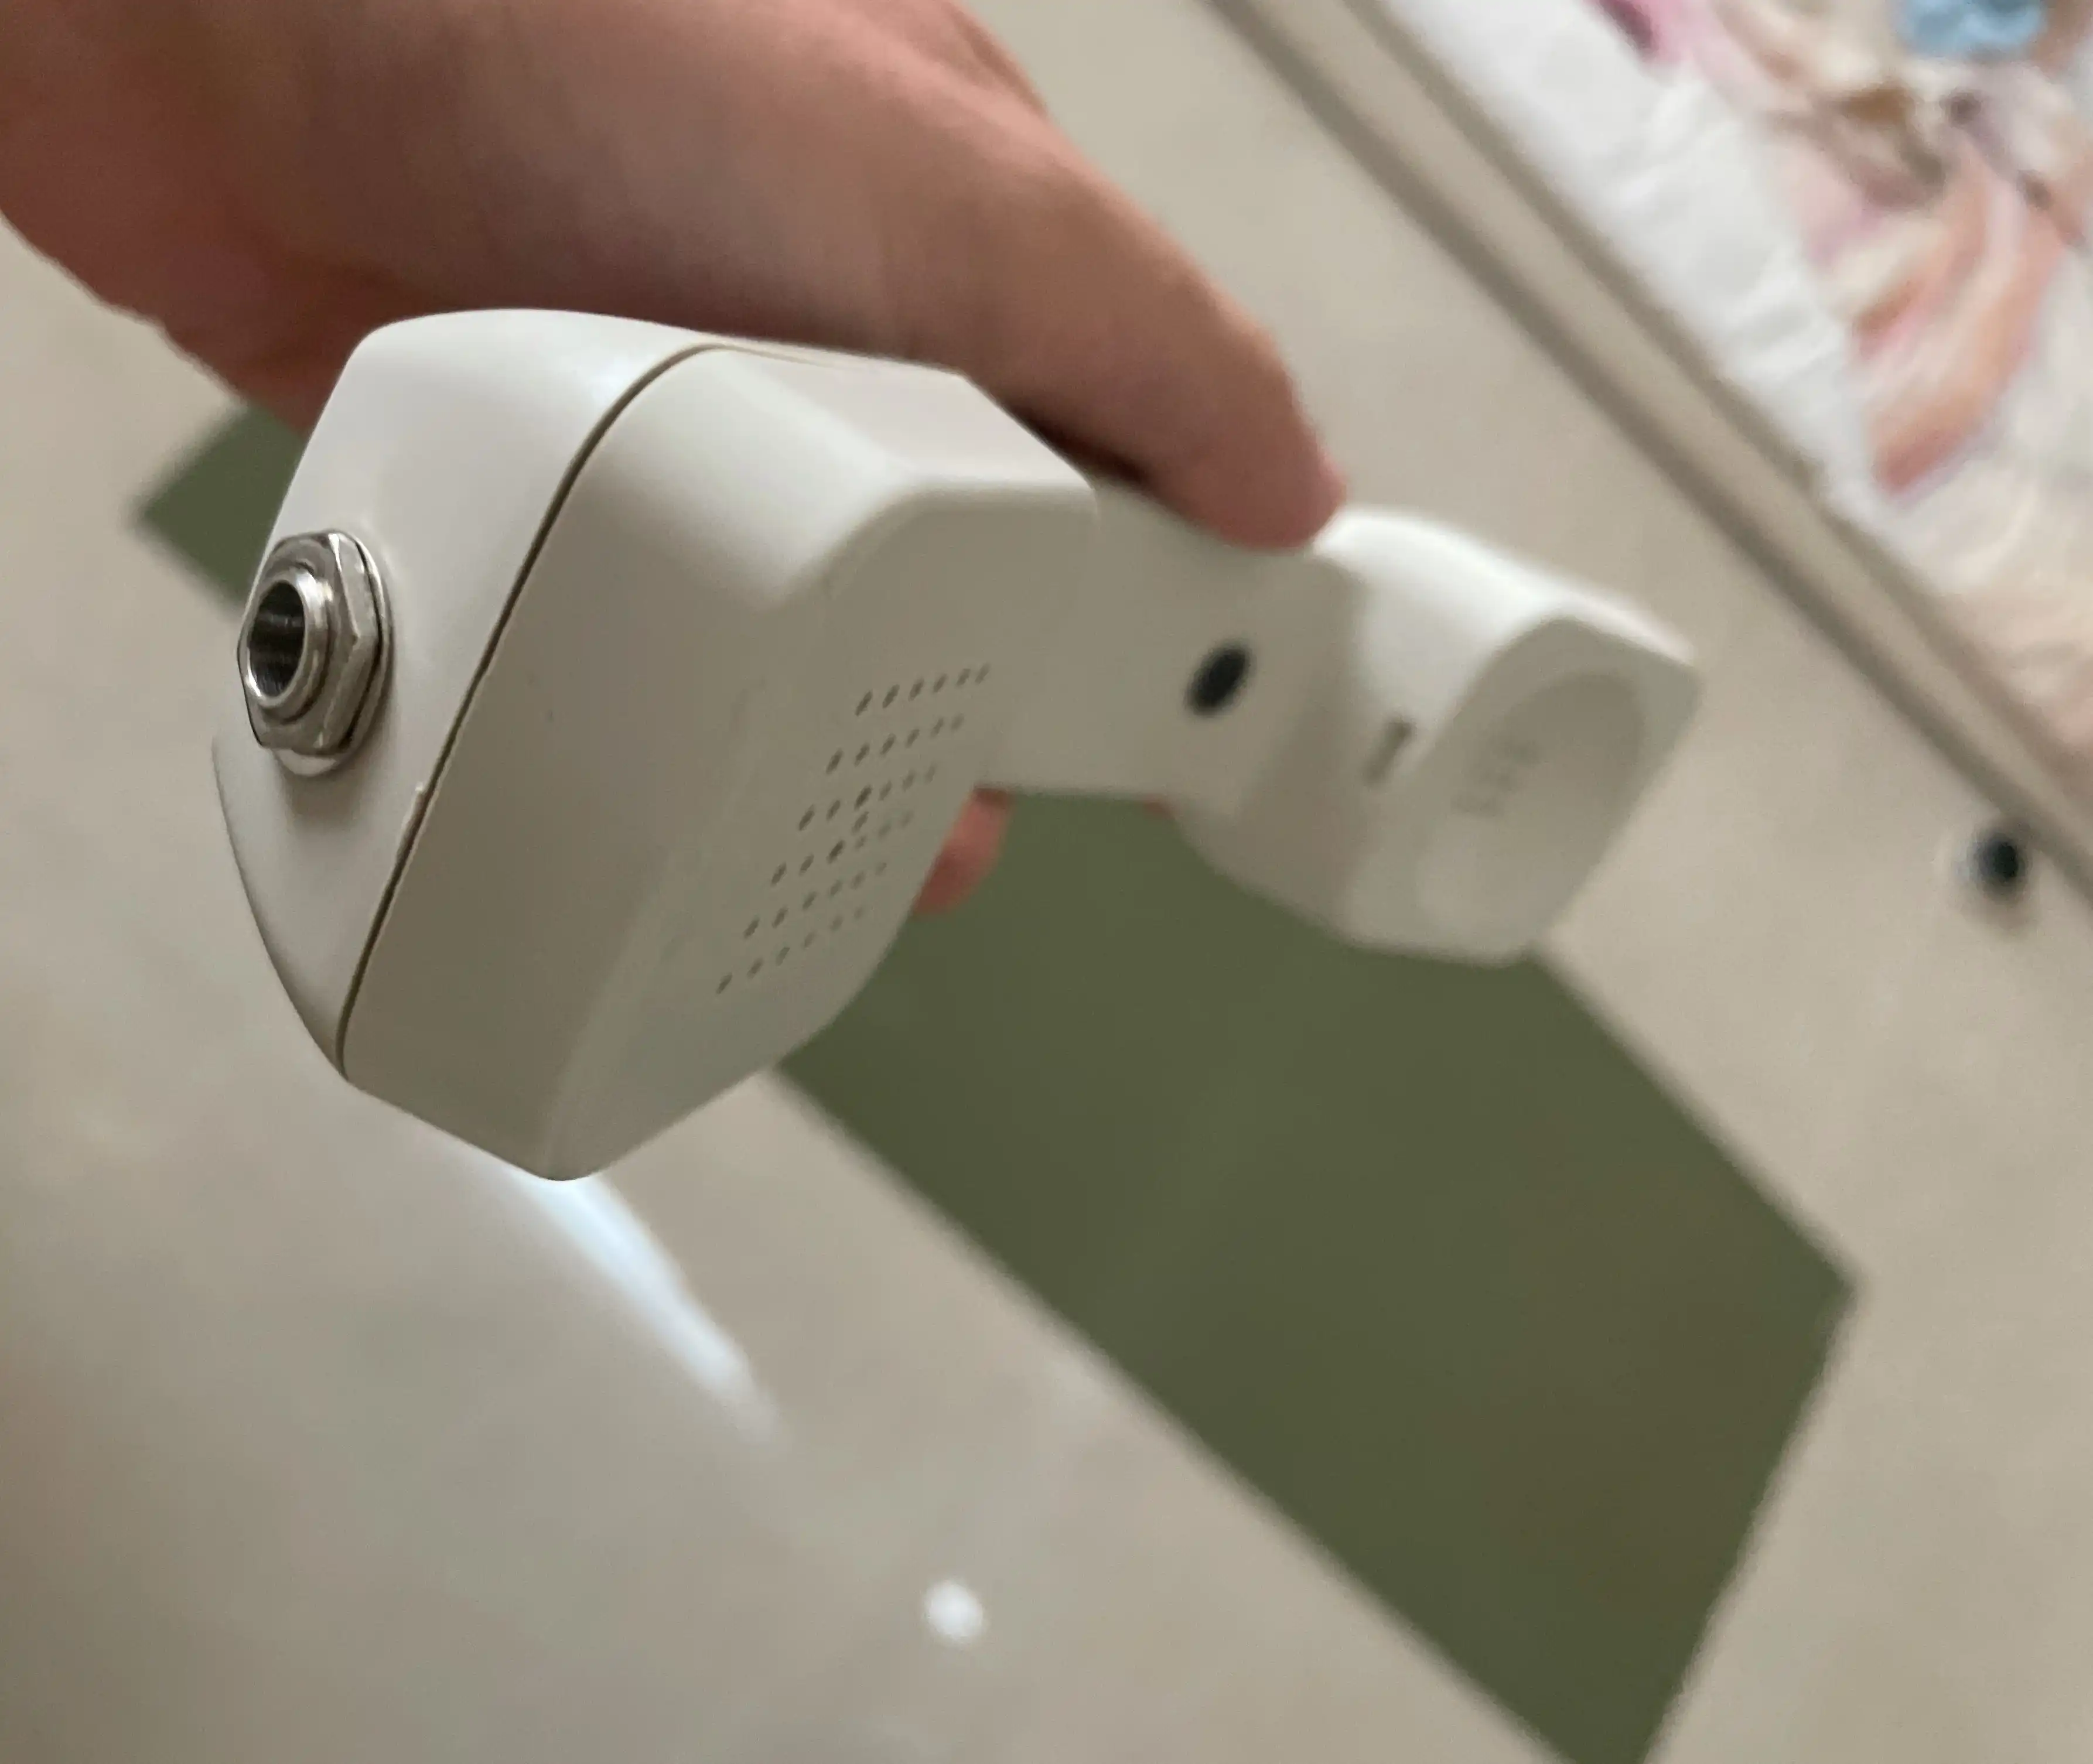
- Old phone I soldered an 1/8in jack onto for a few specific textures. The microphone on this phone actually sounded too clear, so I wired it to the phone’s speaker instead of the microphone.
- Acoustic panels I made these with Rigid Acoustic Fiberglass, Purple Kona cotton, and a basic wood frame I through together with a hand saw, some screws, and a staple gun.
Note: My room is NOT really optimal for listening and mixing – I treated it specifically for tracking voice. I have many acoustic panels around my room, but not a lot of extra thicc bass treatment panels. Headphones and a few car speakers did get me through the album well enough, since I could rely on Bill’s expertise for the heavy lifting. My focus is tracking vocals, so these panels help prevent flutter echo and other small-room problems, but are not enough for mixing/mastering
Editing #
- Melodyne (Editing Pitch)
- Ableton Live 11 (Editing Rhythm)
- Reaper (Used for double-checking sessions have been exported correctly)
Listening #
- Shure SE215
- Shure SE846 + EATFL1 Tips – These triple-flange tips are painful the first few times you use them. They feel like they are breaking your ears. But they sound WAY better. Also effective with the SE215. I just don’t use them on those because they get nasty quickly.
- Sony WH1000-XM4 – I think these are the best consumer-facing headphones on the market. That being said, I did get mine on an employee discount, since I bought them while I was still an employee at Sony.
- Friends’ speakers and cars – Listen to your music wherever you can
Mixing and Mastering #
Again, I did NOT do the mixing and mastering for VX1. But when I do that kind of work, I do have tools I prefer. If that is interesting to you, I’ll provide a list of that stuff. I mostly just use pretty standard things, though.
- Fabfilter EQs and Compressors
- Valhalla DSP Reverbs
- Many Ableton Live Plugins
- SoundToys Makes a lot of fun things
- Sausage Fattener I use this sometimes on lead and bass